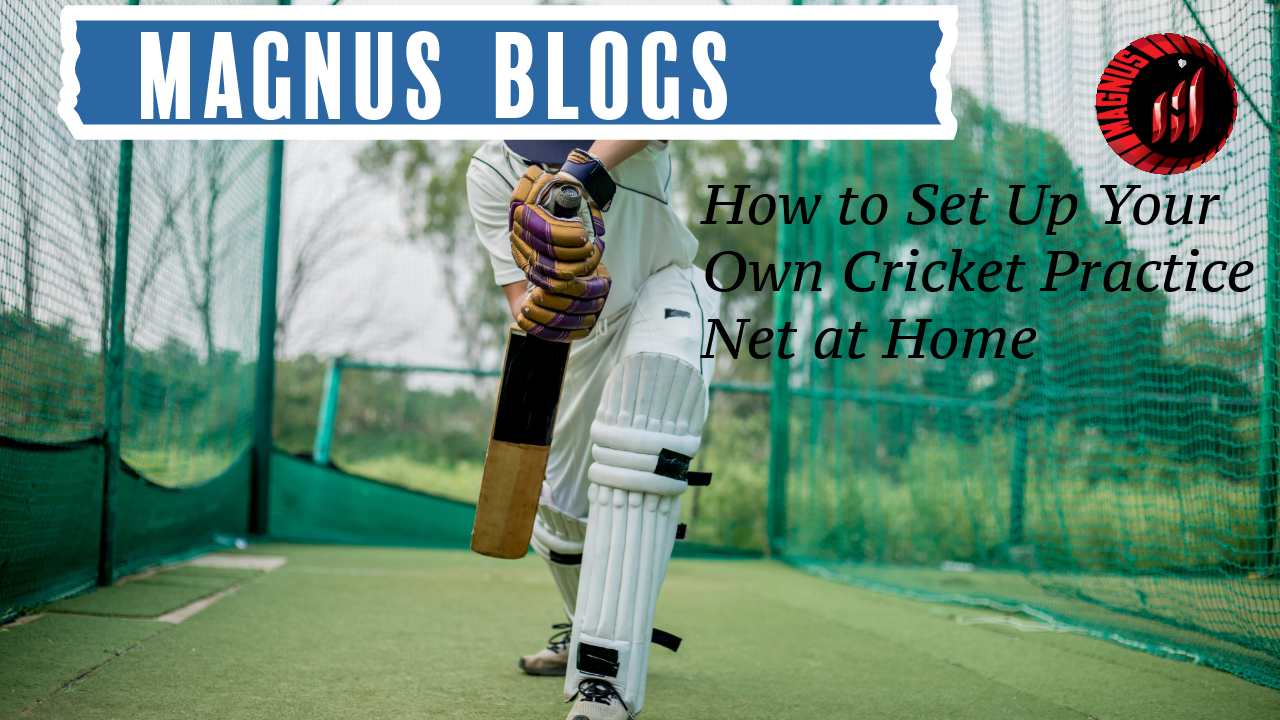
Cricket enthusiasts often struggle to find time and space to practice regularly. Setting up your own cricket practice net at home can be a game-changer, allowing you to train anytime, improve your skills, and enjoy uninterrupted practice. Whether you have a backyard, garden, or garage space, a home cricket net can be customized to fit your needs.
In this blog, we’ll walk you through everything you need to know about setting up a cricket practice net at home, including materials, installation steps, and maintenance tips.
1. Benefits of Having a Cricket Practice Net at Home
- Convenience: Practice anytime without traveling to a cricket ground.
- Consistency: Regular practice improves batting, bowling, and reflexes.
- Safety: Prevents cricket balls from damaging property or injuring others.
- Cost-Effective: A one-time investment that saves long-term expenses on renting practice areas.
- Skill Improvement: Helps focus on specific techniques, whether batting, bowling, or wicketkeeping.
2. Choosing the Right Location
Before setting up the net, choose a suitable location based on space availability and safety considerations.
Ideal Locations:
- Backyard or Garden: The most common choice for a practice net.
- Garage or Indoor Space: If you have a large enough area, an indoor net allows year-round practice.
- Terrace or Rooftop: Works well with proper safety measures to prevent balls from going out.
Space Requirements:
- Length: At least 15-20 yards for bowlers; more if possible.
- Width: Minimum of 10 feet to ensure enough space.
- Height: At least 10 feet to prevent high shots from going out.
3. Materials Needed
1. Cricket Net:
- Choose a durable polyethylene or nylon net with 1.5 to 2-inch mesh size to stop fast-moving balls.
- UV-resistant and waterproof nets last longer outdoors.
2. Frame/Pillars:
- Use metal poles (galvanized steel or aluminum) for a strong, permanent setup.
- PVC pipes or wooden poles work for temporary or budget-friendly setups.
3. Ground Surface:
- Grass or Artificial Turf: Ideal for batting and bowling practice.
- Concrete or Hard Surface: Suitable for tennis ball cricket or installing a mat.
- Cricket Pitch Mat: A synthetic turf mat improves bounce and shot-making.
4. Fixing Accessories:
- Ropes, Cable Ties, or Hooks: Secure the net properly.
- Stakes or Concrete Base: For securing poles firmly.
- Sandbags: If using a portable frame, sandbags add stability.
4. Step-by-Step Installation Guide
Step 1: Install the Frame or Poles
- Mark the four corners of your net area.
- Dig small holes (1-2 feet deep) for each pole.
- Insert metal or wooden poles and secure them with concrete or sandbags.
- Ensure the poles are at least 10-12 feet high for proper netting.
Step 2: Attach the Cricket Net
- Drape the net over the top of the poles.
- Attach the net using cable ties or hooks to keep it secure.
- Keep some flexibility in the net to absorb ball impact and prevent damage.
- Cover all open sides except the front, allowing for easy entry.
Step 3: Secure the Base and Ground Surface
- If playing on grass, ensure the surface is even and trimmed.
- If playing on a hard surface, consider placing a pitch mat to simulate a real pitch.
- Add rubberized or wooden baseboards behind the stumps to act as a wicketkeeper/batsman backstop.
Step 4: Test for Stability
- Hit a few balls into the net to check if it withstands impact.
- Tighten any loose sections and reinforce with additional ties if needed.
5. Additional Features to Enhance Your Practice Net
- Bowling Machine: If you want professional-level practice, invest in a bowling machine to replicate different deliveries.
- Batting Tee or Stump Target: Great for practicing straight drives and bowling accuracy.
- Floodlights: If you plan to practice in the evening, install lights for better visibility.
- Side Screens: To improve focus by reducing distractions from outside the net.
6. Maintenance Tips for Longevity
- Check Net Regularly: Inspect for holes or wear and tear, especially if left outdoors.
- Clean the Net: Dust and dirt can weaken the material; wash it occasionally with mild soap and water.
- Secure the Poles: Reinforce the structure every few months to ensure stability.
- Store in Harsh Weather: If the net is portable, take it down during heavy rains or storms.
- Use Protective Covers: If placed outside, a cover can prevent sun damage and extend lifespan.
7. Budget Considerations
Basic Setup (Budget-Friendly) – ₹5,000 to ₹10,000 ($60 - $120)
- Basic nylon net
- PVC or wooden poles
- Hard surface or simple grass pitch
Intermediate Setup – ₹15,000 to ₹30,000 ($180 - $360)
- High-quality, UV-resistant net
- Metal poles with concrete fixing
- Artificial turf or cricket mat for better bounce
Advanced Setup (Professional) – ₹50,000+ ($600+)
- Premium, weatherproof net
- Heavy-duty steel poles
- Properly installed pitch mat with bowling machine
- Floodlights and other advanced accessories
Cricket bat types, Cricket equipment in usa, Cricket equipment store, Cricket gloves, Cricket helmet, Cricket kit bags, Cricket retailers, Durable cricket gloves, English willow bats, Icc approved helmets., Kashmir willow cricket bat, Latest kashmir willow bats,
